Image Gallery Setup Documentation
First, please install (if necessary) and enable the Image Gallery and Lightbox modules. The Lightbox module can be found here: https://drupal.org/project/lightbox2 and must be setup to show images in a lightbox when being clicked on.
The first thing to do is create an image gallery that we will attach to a node via a block. Use the menus to do this.
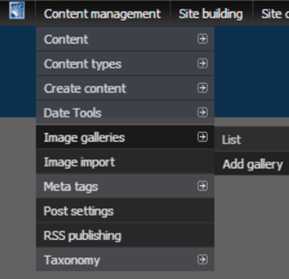
Type in an appropriate name without spaces and any other information as needed.
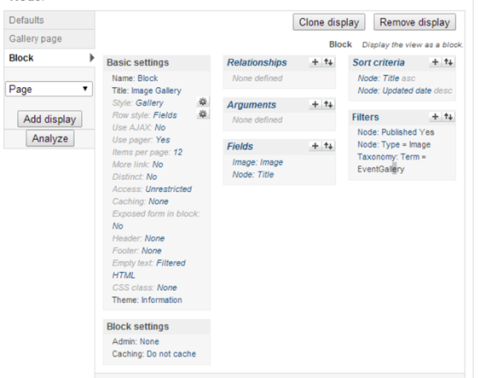
To set up the views properly, we’ll need to add a Block display to the existing Image Gallery view. Alternatively, you can import the following code for the entire view at http://pastebin.com/p73pGPvw
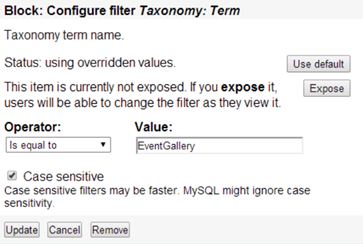
The implementation for the block display currently requires a new block display for each gallery (unfortunately). Which set of images it is used is based on the name of the image gallery made earlier: for instance, if you named your gallery “EventGallery”, a filter on the taxonomy term where the term equals “EventGallery” would be required.
Once this is done and saved, all that is left is to add images to the gallery by creating image nodes (see the related tutorial at https://engineering.case.edu/cseit/documentation/drupal-6-training/adding-blocks-to-regions) and to add the created block to the content portion of the blocks page, making sure that it is only listed on the address of the page you wanted it to be added on (see https://engineering.case.edu/cseit/documentation/drupal-6-training/adding-blocks-to-regions for how to add blocks and add them to only specific pages).