Note: This tutorial assumes you are logged into a Drupal 6 site and are familiar with adding a page with content. You must also have access to the Blocks menu.
Blocks are essentially areas where content can be placed. For instance, a menu is a block with links to web pages. Other blocks may include logos of related organizations, a small embedded video, a twitter feed, news feed, or something else.
From a practical standpoint, there are two types of blocks: those created manually and those created by views. In this tutorial, we will cover how to manually create blocks and add them to any section of the site. It works very similar to a page; however, a block has a very limited space for content and will appear on all pages throughout the site, making it useful for menus or general information.
To start, list all blocks by going into the Site Building menu at the top and selecting Blocks -> List as shown below:
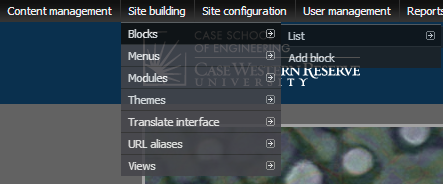
(Be sure to click on “List” to access the blocks list page.)
This page includes a list of the names of blocks, the region they are in, and the option to change their settings or delete them.
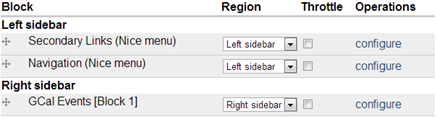
(Throttle is not important for the purpose of this tutorial.)
By dragging the icon to the left of the name, you may change the order of blocks (top to bottom) or drag them into a different region. Another way to change the region is to use the dropdown to the right and select a region. Most blocks will be in one of the sidebars (left or right) or the header. As you can see, there are already some blocks in place; most of the time these can be left be as they may be essential to your site.
You can click on “configure” to access the settings for the block. For manually created blocks, you may edit the content of the block directly and even delete the block from this page.
For this tutorial, we will create our own block from scratch. Do so by clicking on “Add block” at the top of the content area:

The beginning part of your block is rather straight-forward. Much like a page, simply enter a short description and title for the block. The body works much like the page body, but the area is much more confined, so keep that in mind while creating the body of the block.
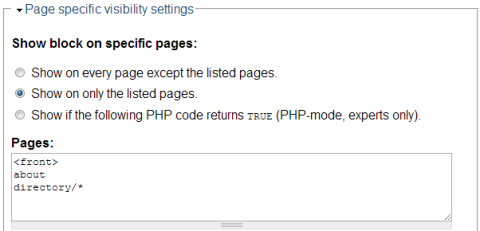
Once you are done, you may scroll down to choose whether or not people can see the block, as well as who can see it. You may also choose which pages the block shows on: for instance, you may want it to only appear on the front page, the about page, and any pages/subpages under the “directory/” folder.
Once you are done fixing up your settings, hit “Save” to create the block. Be sure to enable the block afterwards by dragging it from the Disabled section to any other enabled section and hitting “Save”. Congratulations, you have created a custom block for your Drupal site!