Using the Drupal Image Gallery
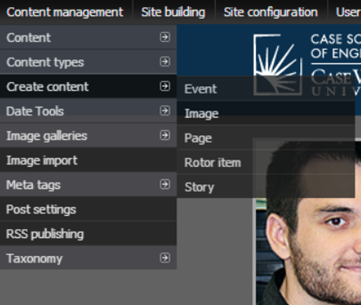
In order to add images to our gallery, we need to go under Content Management -> Create Content -> Image, as shown below:
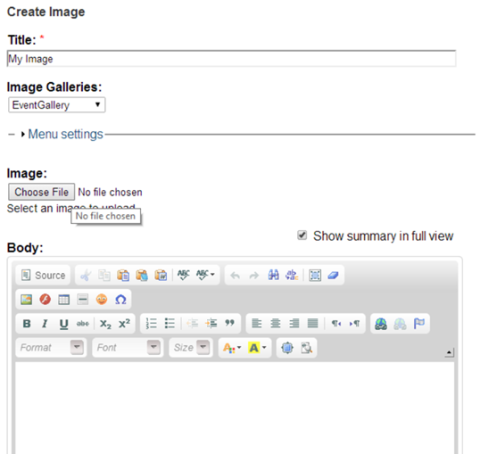
Next, fill in the appropriate information on the “Create Image” page. The title is simply the title of the image and the gallery should be set to the gallery you wish to add the image to. (This assumes that the gallery is already setup on a specific page for your website.) Upload an image from your computer by hitting “choose file” and selecting the image file.
You can also add in a description in the body if you wish, e.g. to add details about the image.
After you’re done, scroll to the bottom of the page and hit “save”. If done right, your image should now automatically appear on the gallery page.
You can remove any images from the gallery by going to Content Management -> Content -> List at the top menu (black bar) and then deleting the image you wish to remove.
For more info on general content editing such as how to upload files and edit the body section, please click here.