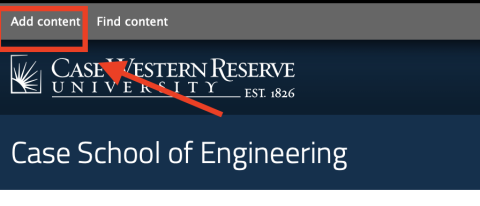
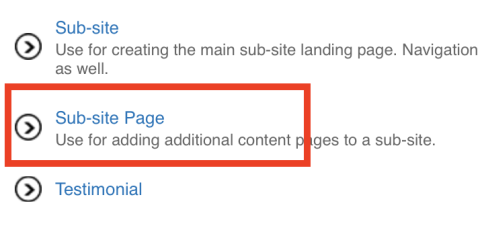
In order to create a sub-site page, make sure you have logged into enginnering.case.edu using /user at the end. To begin. go to the top right-hand corner to "add content" and scroll down to where you will find the "Sub-site page" link and click on that.
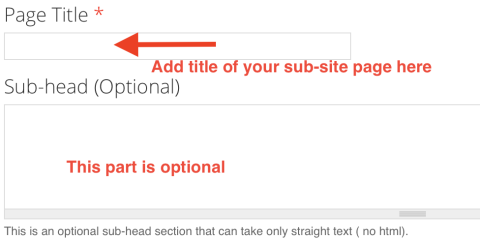
Next, you will be adding your sub-site page Title and Sub-head in the boxes below. The Sub-head is optional and is used as a brief description under your title on the sub-site page.
The title should be displayed as follows. This is an example for a sub-site page titled Student Opportunities under the subsite for the Mechanical and Aerospace Engineering. as displayed the title is Student Opportunities:

Below the title and sub-heading is a section titled "Grid". This section is optional but can be used to add up to 4 links that will be displayed on the page. You do not have to add a link but if you wish to visit this page.
After you have completed this section you will move on to adding the sib-site that your subsite page is linked to. As pictured below you will scroll through until you select your subsite. If your sub-site is not shown below, email help@case.edu. It is very important that you select a subsite in order to tag your sub-site page to the subsite.

Following tagging your Sub-site you will move on to add content to you sub-site page under the following section.
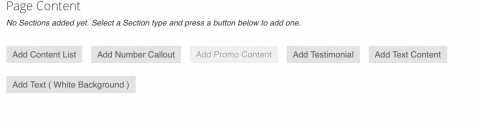
Page Content: This is the main content of the page, you can add as many different types of content, simply add another piece of content and it will be added to the list.
Content List
This is an automatically generated list of everything that falls under a certain type of content, most useful for things like events, news, and faculty. Please contact help@case.edu if the information you need is not in this list, and ask for School of Engineering Web Support.
Text Content
Click here to learn about Text Content
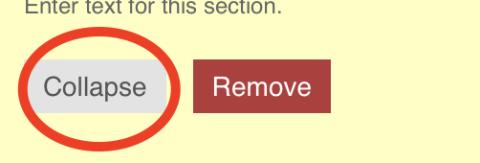
Remember that once you have finished adding or editing your content, you must click the "collapse" button at the bottom.
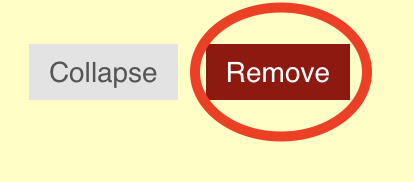
If you are deleting text, you must click the "remove" button and then confirm the deletion in order to delete content.

Promos
Note: Promos may not be added until the sub-site page is saved for the first time. If the option is grayed out, save the subsite page, and then go back and add promos.
Click here to learn about Promos
Testimonial
Click here to learn about Testimonials
Number Callout
Click here to learn about Number Callouts
Sidebar Content: This is the same as the previous section, but the content here will be displayed on the right sidebar of the page, underneath the navigation menu.

Once you have created your content, you will insert your url path which is "/" and then the name of your sub-site page.

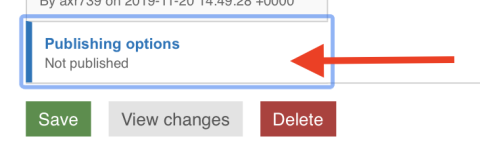
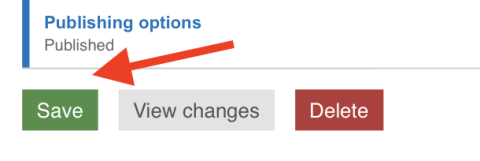
Once you have created the URL path you are ready to publish your sub-site page, in order to do this click on "Publishing Options" section on the bottom of the page and make sure that the publishing option is selected.
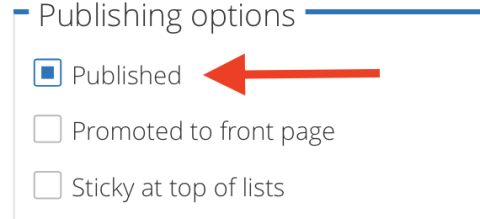
After you have ensured that the "published" button is selected, you must click save. If your published section is not selected, you will not be able to see your page and it will not be displayed. After it is selected click save.
Revisions
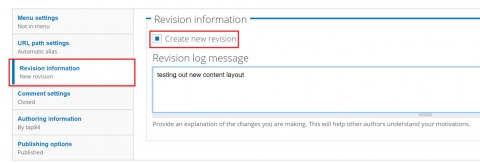
Upon making any changes to your page, you should create a new revision so that you can back to a previous state if you need to. This can be done by selecting the following options and entering what changes were made in the current revision.
To access your old revisions, simply click the tab at the top of the page editor, which will bring up options to revert to that old revision, or to delete revisions.
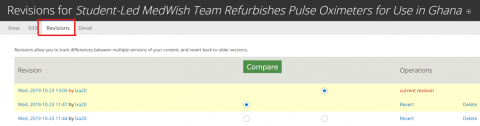
This is an example of the revisions page. Select two versions by adding checkboxes and click compare. The page will display differences between the two versions.